- For Enquiries Please Contact
- +97155 739 2020
- info@construction-power.com
Step-by-Step Guide to Operating a Rented Rigid Pipe Threader

Generator Repair Scenarios: How to Respond to Emergency Situations?
June 5, 2024
How to Ensure Your 300kW Generator Rental Meets Your Power Needs?
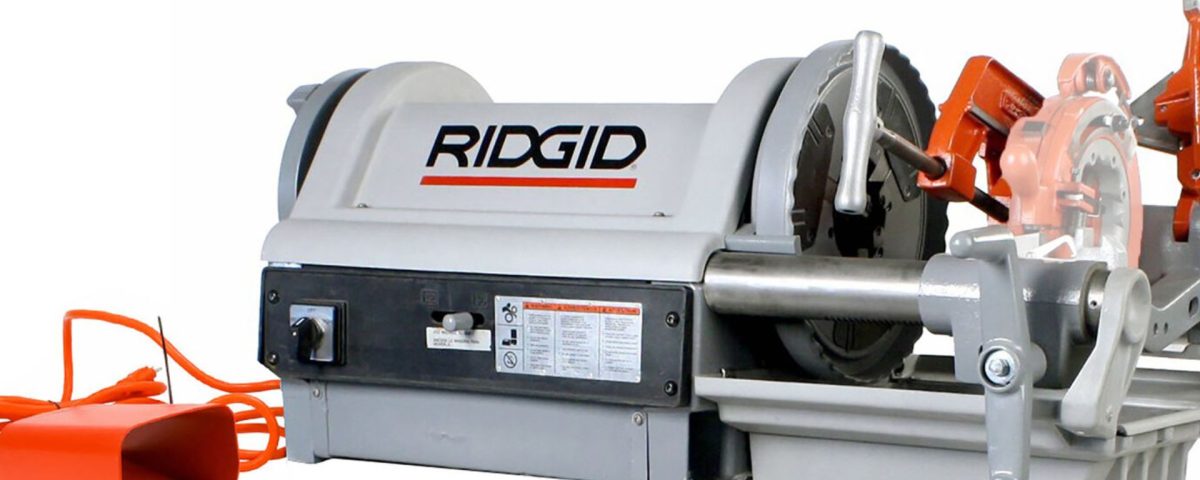
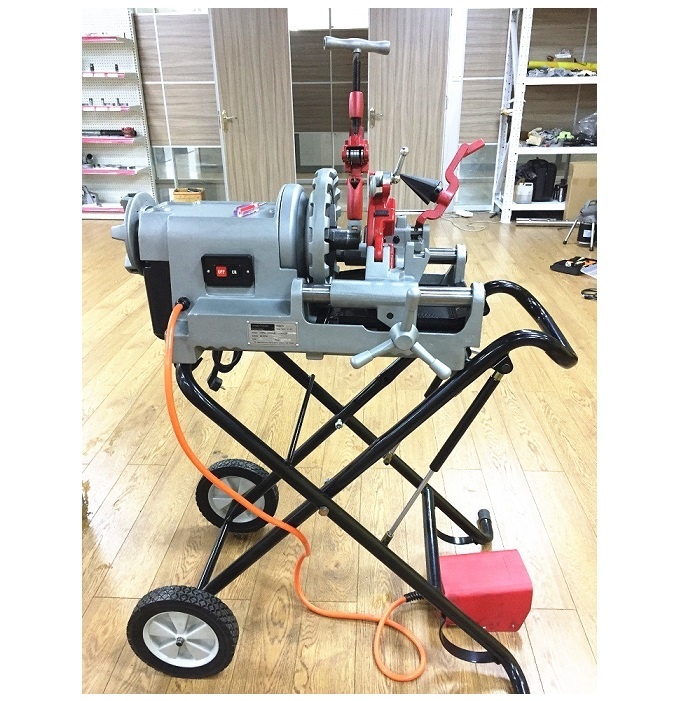
June 13, 2024When working on plumbing or construction projects, threading pipes accurately and efficiently is crucial. A rigid pipe threader is an essential tool that can make this task easier and faster. At Construction Power, we offer reliable Rigid Pipe Threader Rental to ensure your projects are completed with precision. This guide will walk you through the steps to operate a rented rigid pipe threader safely and effectively.
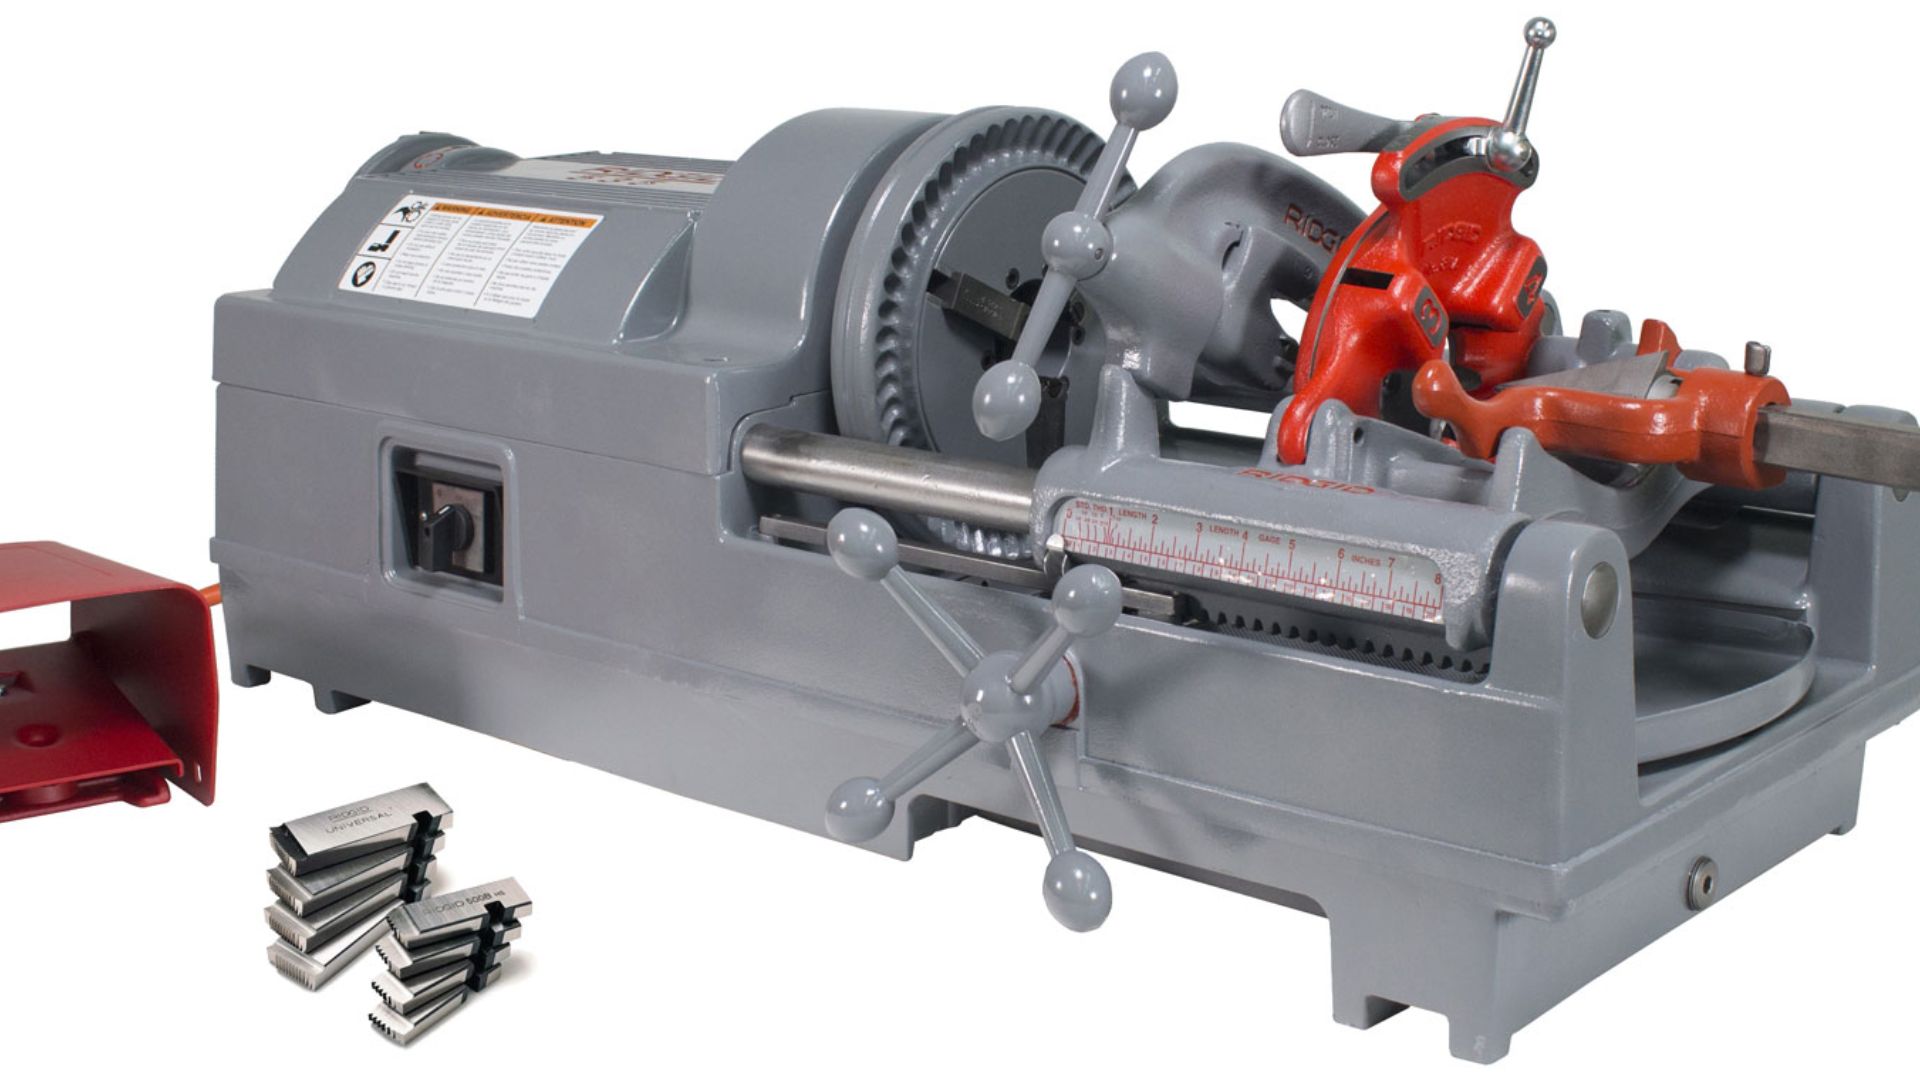
Understanding the Rigid Pipe Threader
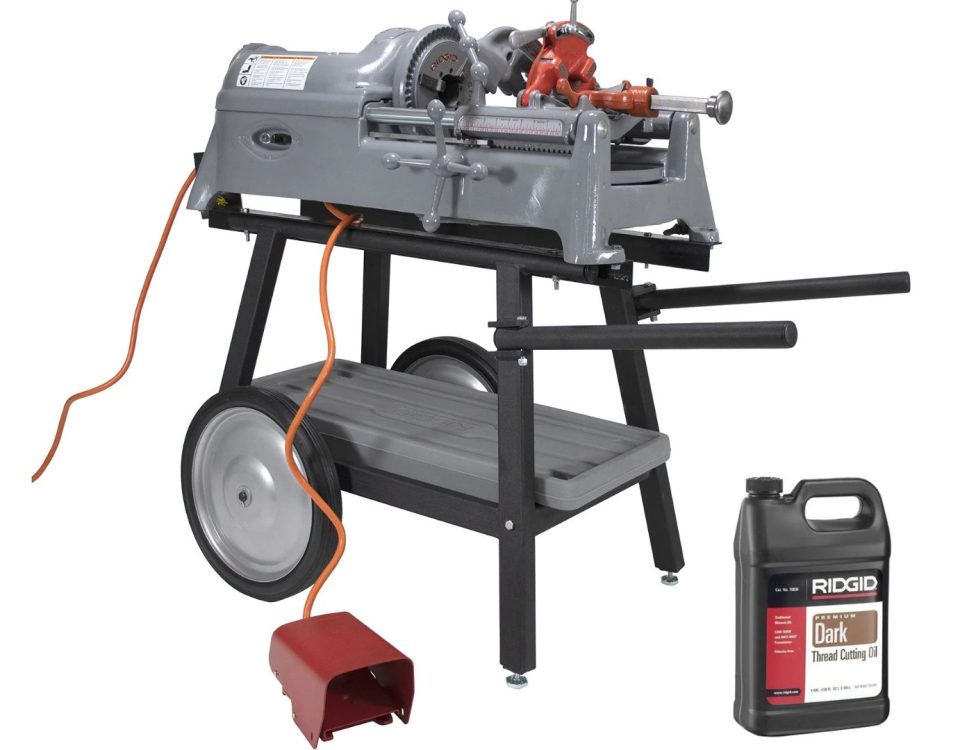
A rigid pipe threader is a specialized tool used to create precise threads on the ends of pipes. This allows them to be securely connected with fittings. Proper use of the threader ensures a tight seal, preventing leaks and enhancing the durability of the piping system.
Step-by-Step Operation Guide
-
Preparation and Safety Measures
- Read the Manual: Before using the threader, read the manufacturer’s manual for specific instructions and safety guidelines.
- Safety Gear: Wear appropriate safety gear, including gloves, safety glasses, and protective clothing.
- Work Area: Ensure your work area is clean, well-lit, and free from obstructions. Set up the threader on a stable, level surface.
-
Inspect the Equipment
- Check for Damage: Inspect the threader for any visible damage or wear. Ensure all parts are in good condition.
- Lubrication: Check that all moving parts are properly lubricated to ensure smooth operation.
-
Set Up the Pipe
- Measure and Mark: Measure the pipe and mark the length where the threads will start. This ensures accuracy and consistency.
- Secure the Pipe: Place the pipe into the threader’s clamp or vise, ensuring it is firmly secured and will not move during threading.
-
Selecting the Die Head
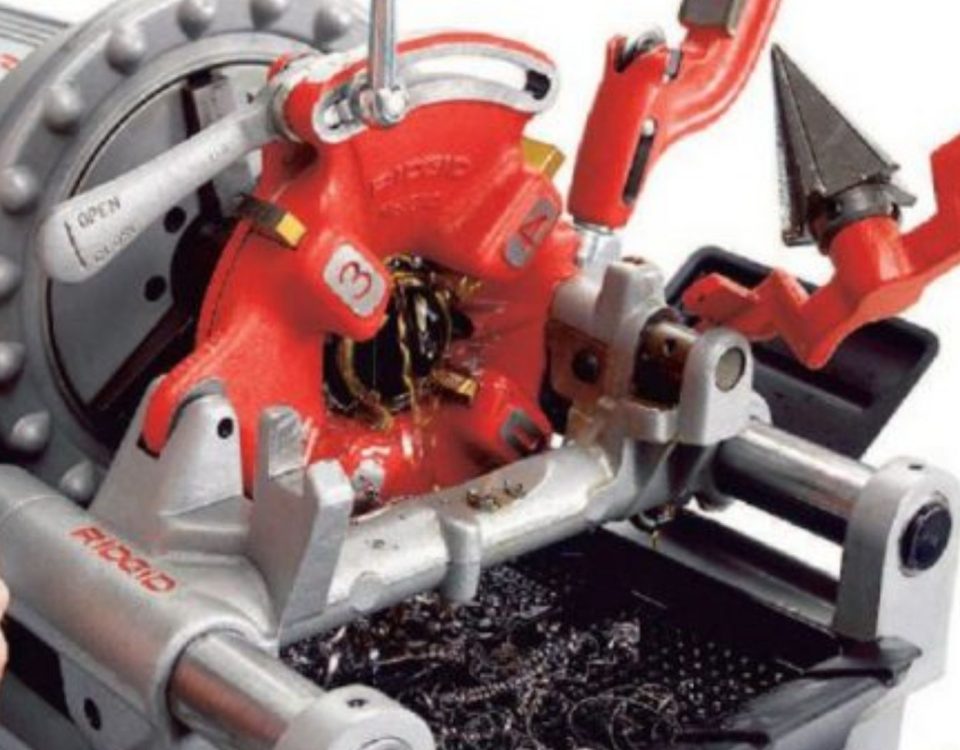
- Choose the Right Die: Select the appropriate die head for the pipe size and type you are working with.
- Install the Die Head: Attach the die head to the threader according to the manufacturer’s instructions. Ensure it is securely locked in place.
-
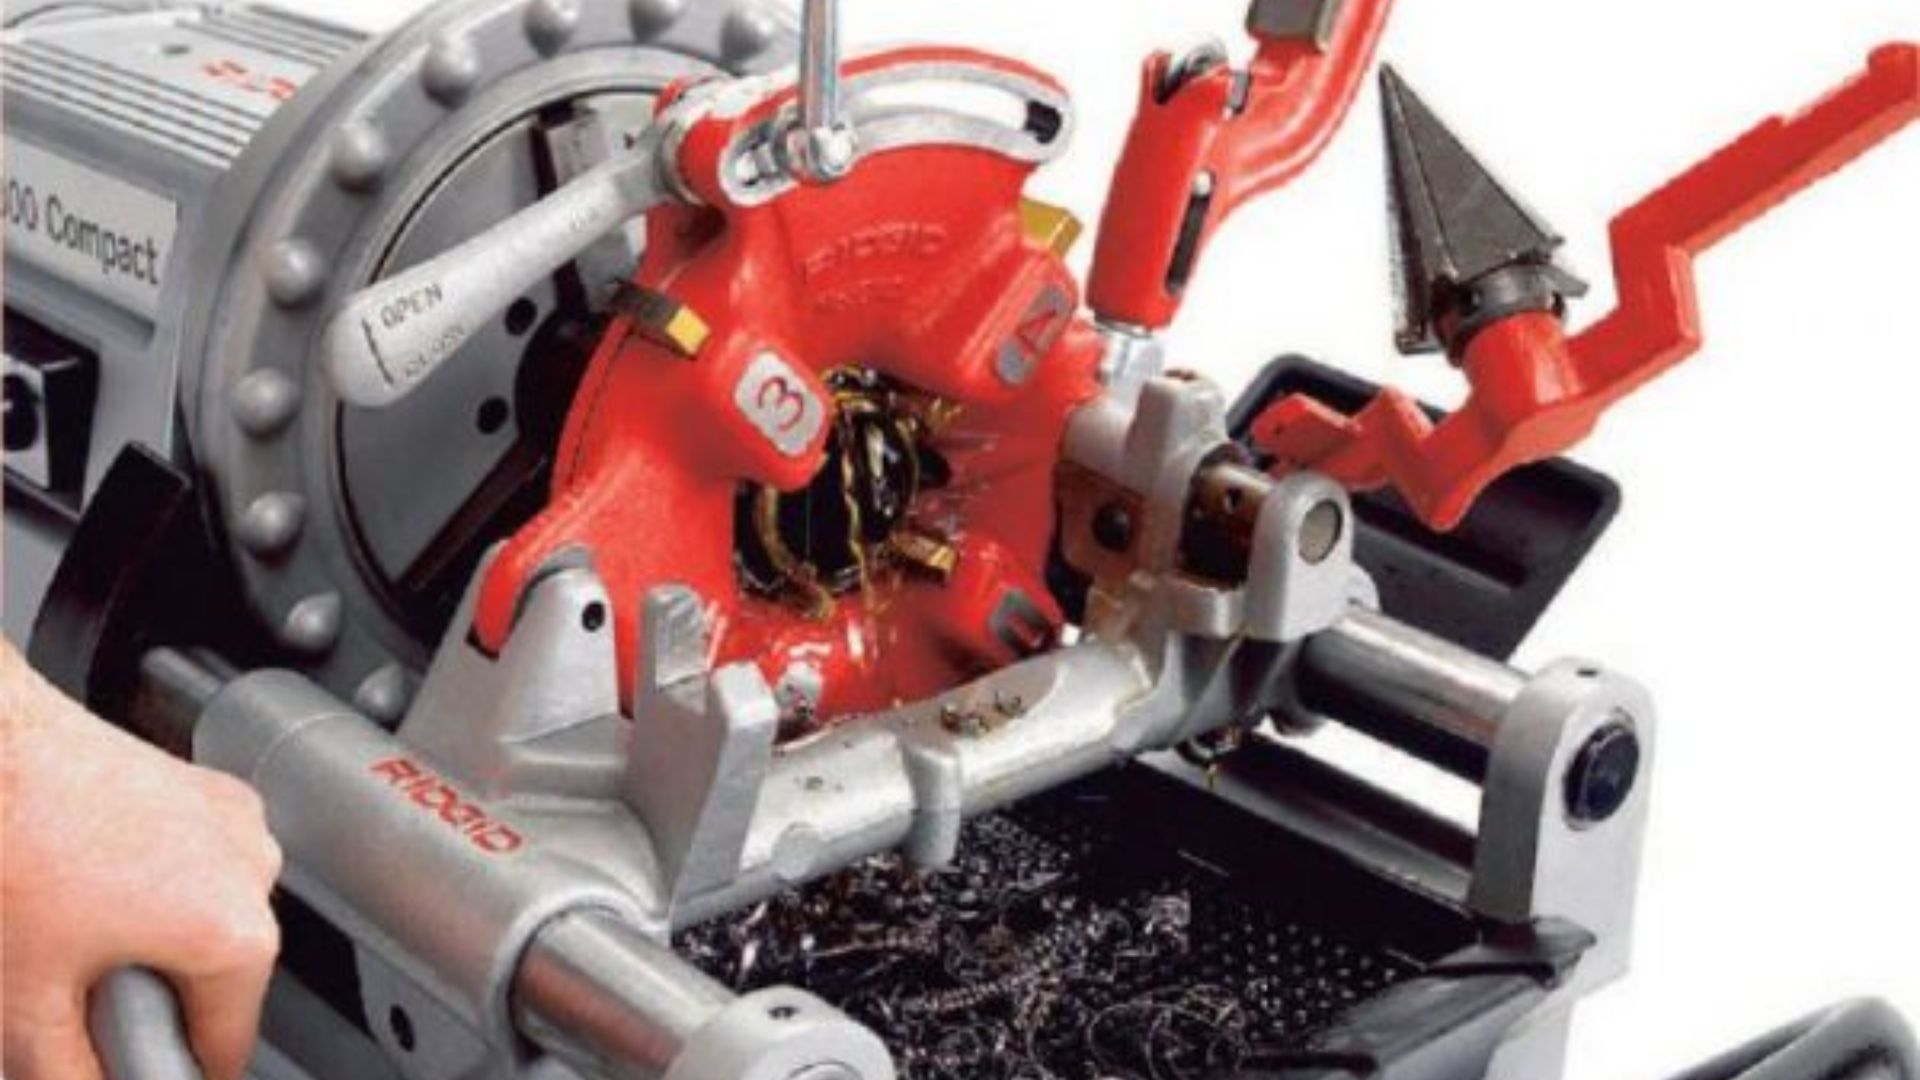
Threading the Pipe
- Apply Cutting Oil: Apply a generous amount of cutting oil to the pipe where the threads will be cut. This reduces friction and heat, ensuring smooth threads.
- Start the Threader: Turn on the threader and slowly engage the die head with the pipe.
- Consistent Pressure: Apply consistent pressure and allow the threader to cut into the pipe. Avoid forcing the tool, as this can damage the threads or the pipe.
- Complete the Threading: Continue threading until the desired length of threads is achieved. Once complete, turn off the threader and retract the die head.
Benefits of Renting a Rigid Pipe Threader from Construction Power
- Cost-Effective: Renting is a cost-effective solution, especially for short-term projects or occasional use.
- High-Quality Equipment: Our rentals are maintained to the highest standards, ensuring reliable performance.
- Expert Support: Our team provides expert advice and support to help you choose the right equipment and use it effectively.
- Flexible Rental Terms: We offer flexible rental terms to suit your project needs and timelines.
Conclusion
Operating a rigid pipe threader may seem daunting at first, but with the right preparation and understanding, it becomes a straightforward task. By following this step-by-step guide, you can ensure that your pipes are threaded accurately and securely. At Construction Power, we are dedicated to providing top-quality equipment rentals and exceptional customer service to support all your construction and plumbing needs. For more information on our rigid pipe threader rental and other services, visit our website or contact us directly.

